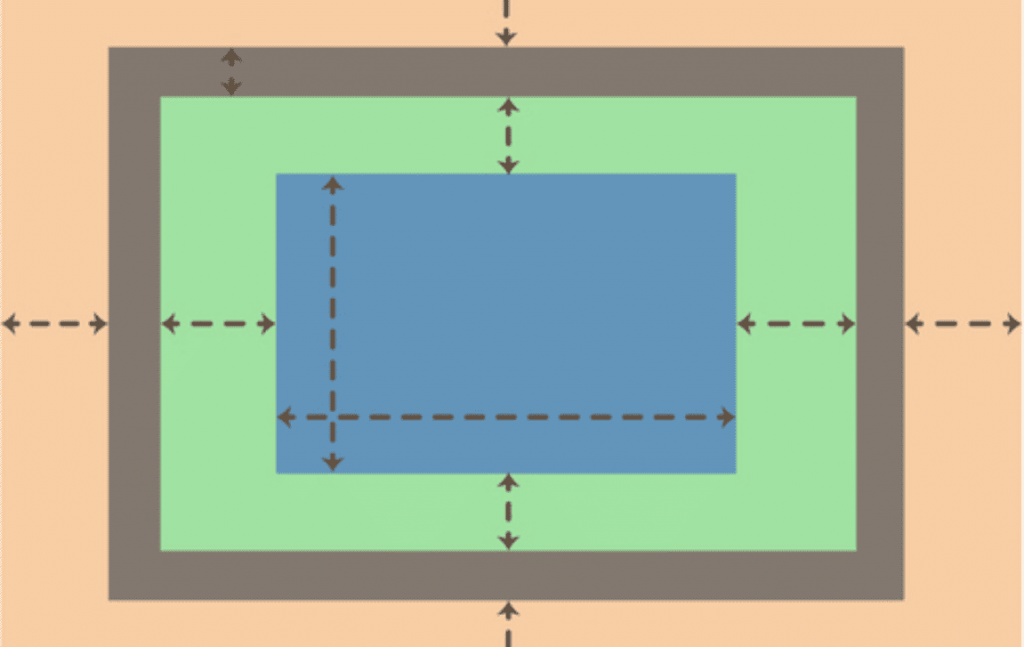
Learning how to make boxes is one of the most fundamental skills are far as learning CSS is concerned. It is one of the best ways of organizing sections on your web pages. Equally important, it is also a perfect way of grouping elements that look related. It is a concept commonly used when placing pictures and text together too.
In the event that you want to separate any content from the rest of a webpage, boxes won’t disappoint. It also plays a risk when you aim to emphasize something. Given how important boxes are, it becomes equally essential to understand how to go about it. That’s why this piece focuses on exactly that. So, without further ado, let’s dive into how to make boxes in CSS. Check it out!
How to Make Boxes around Pictures and Texts in CSS
Follow these steps to enclose your pictures and text in a box.
Step 1: Start by creating a block using HTML
One of the most commonly used blocks is the DIV, especially when enclosing text and pictures. Remember to give your block a class name and ensure it is valid. What determines whether the names are valid? Simply follow these rules, and you won’t have to deal with invalid class names:
- The first character of a valid class name in CSS can either be any letter between A and Z (both capital and small letters), a hyphen, or underscore
- Therefore, ensure that you don’t start it with a number because that will automatically make it invalid
- As for what follows after the letter of choice, underscore or hyphen, the rest of the characters don’t matter and can be any letters, numbers, underscores, or hyphens.
- However, ensure that a number doesn’t come right after two hyphens because that makes the class name invalid
Here is just a bit of an illustration of the code to use when making a div block
<div class="box">
Write the text that you want to see inside the box. You can also insert the image if it needs to be there.
</div>
Step 2: Add style to the box
After creating the block and inserting what you want inside the box, it is time to style it. First of all, ensure that it has borders. Adding the border is as simple as inserting the following CSS code. Remember to replace the name box with the one you used for your class.
.box {
  border: 1px solid black ;
}
In addition to bordering your box, replace the solid black color with the one you deem fit or serve the occasion the best. When dealing with colors, there are several ways of representing one. The first one is using the color name. It only applies to 16 colors, usually the basic ones defined in CSS. The second one is to use the RGB value that can have 3 or 6 numbers preceded by a hashtag. An excellent example is replacing black with #000 or #000000. You can rest assured that the output will be identical since they mean the same thing.
1px is the dimension of the border of the class we named box in step 1. The figure you choose determines how thick or thin the border will be.
Besides solid, you are also at liberty to choose other bordering options. If you want a dotted border, replace solid with dotted, which will play the trick. If that’s what you are looking for, this is what your code should look like:
.box {
  border: 1px dotted black ;
}
Other options include dashed and double for borders made of dashes and double-lined borders, respectively. Feel free to set the box’s background color to your liking, especially if you want it to stand out from the rest of the web page’s content. Other commonly used styles include making your box cast a shadow and creating rounded corners, just but to mention a few.
If you want the box to have a 3D effect, use groove, ridge, outset, and inset styles. Keep in mind that not all browsers can display such values.
How to Insert the Code
Once you have the code for the element based on how you prefer the box, border, and background, you will have to ensure that you insert the code correctly, or otherwise, you won’t see the effect. There are several options to do so, including the following.
1. When Only One Page is Affected
If that’s the case, insert the code in the head section just before its closing tag. You will have the enclose the CSS code with the opening and closing tags of a style section. It is how your code should look like:
<style type="text/css">
.box {
  border: 1px solid black ;
}
</style>
</head>
2. When Several Pages are Affected
Two options will give you the desired output. One of them uses the above code on every page to apply the style. However, it can be tiring, especially if the number of pages is huge. Equally important, if you change any detail of the style, you will have to change every page. That, again, becomes time-consuming.
That’s where the second option comes in. It gives you the power to control the style of various pages from a single point. This method requires you to write the style of all the pages on a single style sheet. After that, add the link to this file in every file you want the style to be applied to. The style file has the .css extension, which programmers usually define as external style sheets. It has no HTML tags and only contains CSS rules.
If you save your external style sheet as box.css, this is the code that will make the changes to reflect on the web pages.
<link rel="stylesheet" type="text/css" href="boxes.css">Ensure that it is within the head segment. To ensure that you get the replacement right, insert it write before the closing tag, </head>.
