There are plenty of different ways you can resize a layer in Photoshop, but the most common and by far the most universal method, whether it’s an image, text, vector shape or any other type of layer is by using Free Transform.
Free Transform
- Select your layer in the Layers panel. If you don’t see the panel, in the top menu click Window > Layers, or press F7.
Alternatively, you can click on the layer itself using Move Tool (V) with Auto-Select enabled in the Options bar at the top.
If you don’t see the either Options bar or Tools Menu, enable them by going to Window > Options/Tools.
- Press Ctrl (or CMD) + T, or go to Edit > Free Transform.
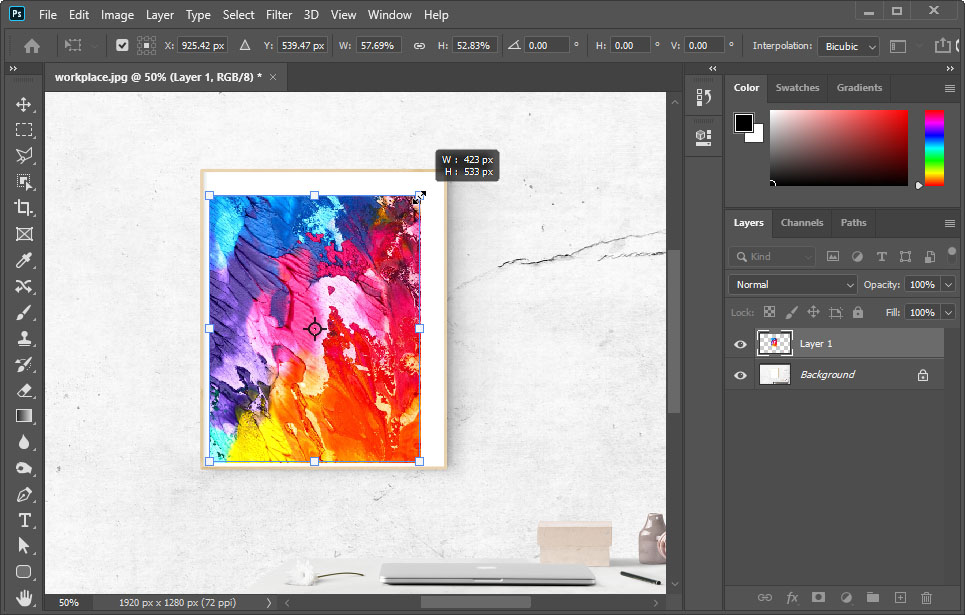
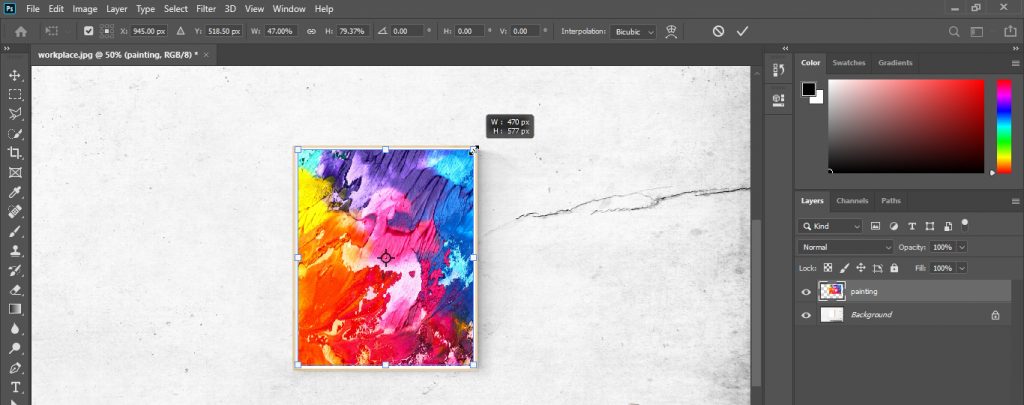
- Drag any corner or side of the layer’s bounding box to resize it to the dimensions you want.
If you have a version of Photoshop newer than CC 2019, layers will resize proportionally by default. In older versions, hold Shift to keep layer’s original aspect ratio. In newer versions, the opposite is true, holding Shift will enable changing the proportions.
Drag inside the transform box to adjust layer’s position while you resize, but avoid accidentally moving the center point, if you have its visibility turned on – though nothing bad will happen if you do, and it will reset itself on the next transformation. Center point’s options are at the very left of the Options bar. You can hold Alt (or Option) to resize from the center point.
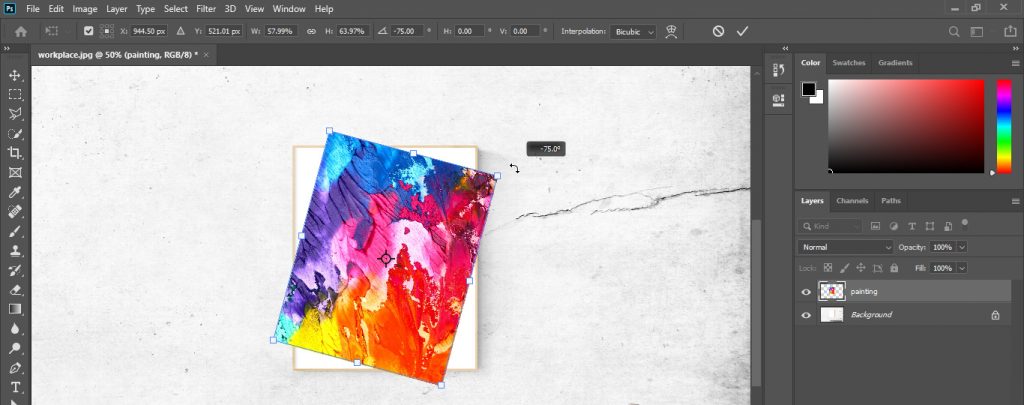
- To rotate the layer, move your cursor outside the transform box until it changes to indicate rotation mode. Hold Shift to rotate the layer in 15 degrees increments, to easily rotate it to 90- or 180-degree angle.
- Press Enter or click the check mark in the upper-right corner to apply the transformation.
Changed your mind?
Notice that once you’ve reduced the layer’s size, and committed the transformation, that layer’s resolution is now also reduced, so if you decide to scale it back up, it won’t have its original quality. Press Ctrl (or CMD) + Z to undo the changes if you want to resize it all over again to a different size.
If you want your layer to always preserve its resolution no matter how many times you transform it, right-click on your layer in the Layers panel and select Convert to Smart Object. Smart Object will contain your original layer and will keep all of its properties untouched, so you can transform it truly freely now.
Cutting to size

What if changing proportions is not acceptable for our image but we still want to fit it to a certain size? We need to cut it to the size we want.
- Resize the layer as usual roughly to the size you want or input specific dimensions into the boxes in the Options bar at the top. Right-click the box to change the units you want to type in.
- Select Rectangular Marquee Tool in the Tools panel (or press M).
- Drag a rectangle of the size you want your image to fit to.
- Go to Select > Inverse to invert your selection and press Delete. Everything outside your selection will be removed.
Alternatively, after selecting the region you want, you can right-click and choose Layer via Copy/Cut or do the same by pressing Ctrl (or CMD) + J, and then delete the original layer.
Other ways
I you want to go through all the other available options, in the top menu navigate to Edit > Transform, to flip, warp, skew and distort layers in all the different ways you might want.
Just don’t forget that before that, you might want to have a copy of your layer in case things go wrong. To do that, just select your Layer in the Layers panel and drag it onto the New Layer icon. Click on the eye button to the left of the layer to hide it from your work.