Gradient is a blend between two or more colors or different levels of transparency and the Gradient Tool is a way to fill with and edit gradients with relative ease, directly on the objects.
Gradient Fill
- Select or create an object. It might be easier to begin with the Rectangle (M) or Ellipse Tool (L).
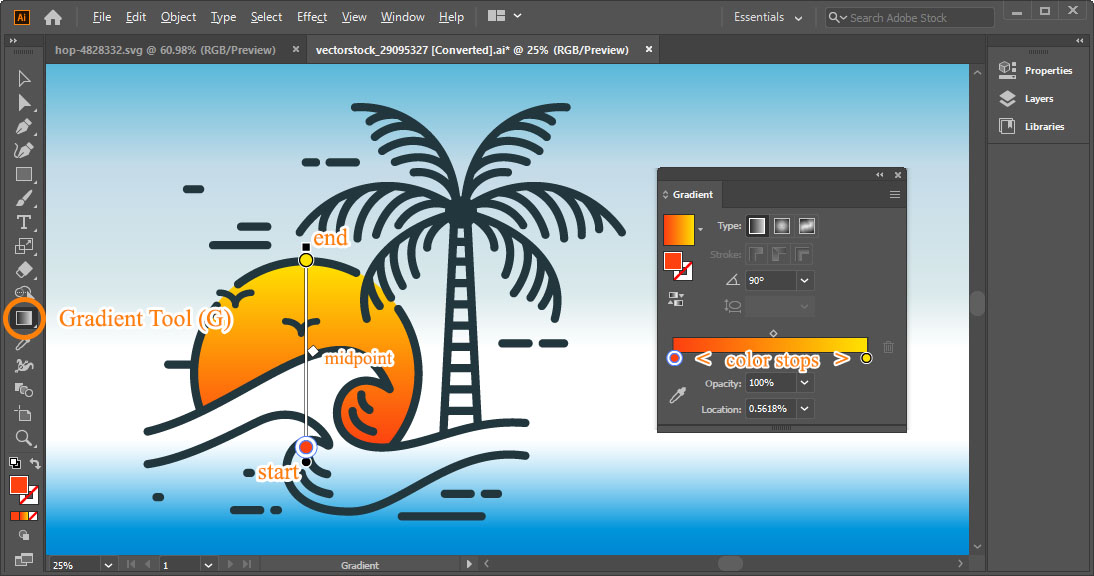
- Select the Gradient Tool from the Toolbar, or press G key.
- Click on the object.
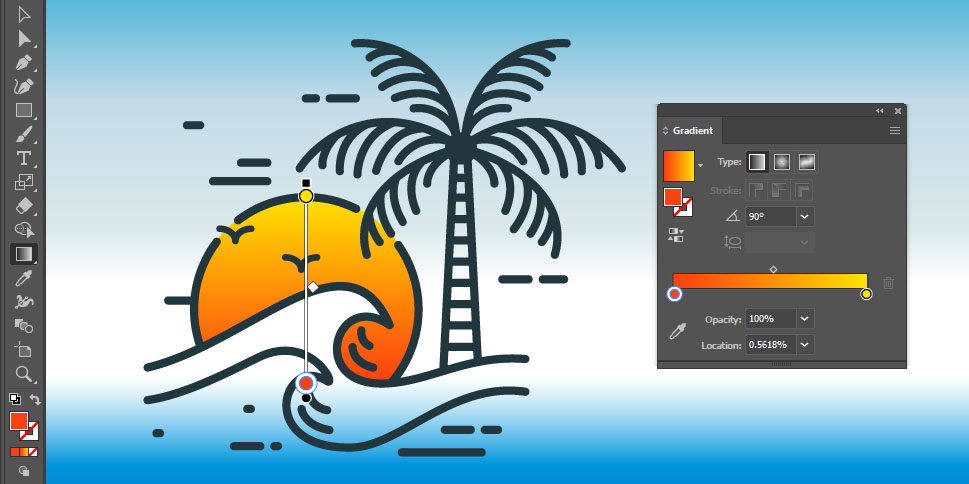
Your object will be filled with a gradient, most likely the default simple grayscale swatch, and a few gadgets will appear.
Note: you can choose another swatch on the Swatches panel. Click Swatch Libraries menu button and go to Gradients to get more gradient swatches.
Then, try clicking and dragging across your object. This way you can simply draw a gradient at any angle and position relative to the object.
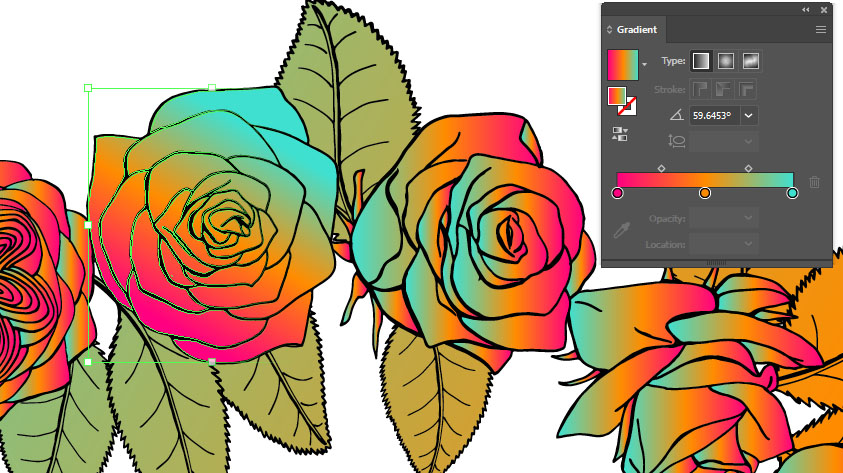
Next, it would be useful to have the Gradient panel open, go to Window > Gradient, or double-click Gradient Tool’s icon. If you click the arrows to the left of the panel’s name, you’ll expand the panel in case you don’t see all the options. This panel is how gradient used to be controlled before the Gradient Tool and it’s still of some use.
The slider filled with gadgets is called the Gradient Annotator.
- Circular spots are the most important, they are the color stops. Double-click them to change their color, drag to change their position.
- White diamond shaped dots in between them are midpoints, drag them around to change where colors transition between stops.
- Black circular end dot is the start of the gradient; black square end dot is the end.
Click and drag the start dot (or slider’s line) to move the gradient. Click and drag the end dot to scale it. Move your cursor slightly outside the end dot to rotate the gradient.
Editing color stops
To add new color stops, move your mouse or pen slightly below the slider line until the cursor changes to a white arrow with a plus sign and click. Press delete to delete the selected color spot. Double-click to select color.

When changing colors, you have three options located at the left of the pop-up menu:
1) Color sliders of a color model (RGB, CMYK, HSB). Click the hamburger menu at the top-right to change it.
2) from Swatches
3) Using Color Picker. If you click and drag with it, you can actually move the color picker outside the canvas and even the Illustrator window and pick color from anywhere. Press Escape to exit.
4) You can change the Opacity of any color at the top of the menu, on the Gradient panel, also on the Properties panel.
Tip: alternatively you can use Color panel, Window > Color or F6.
Radial Gradient
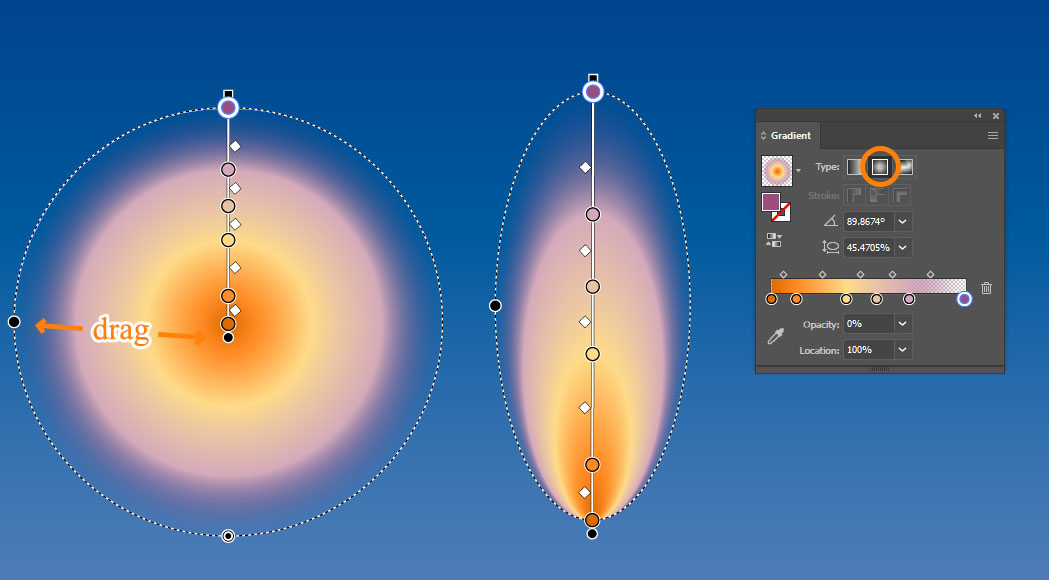
Once you change the gradient type to Radial, the annotator will receive some additional functions:
- You can move the starting point away from center to make gradient comet- or flame-like
- Click and drag additional circular spot on the outer ring of the annotator to make it oval-shaped. Drag the ring itself to rotate it. The gradient within the oval can be rotated independently as before, at the end point.
Freeform Gradient
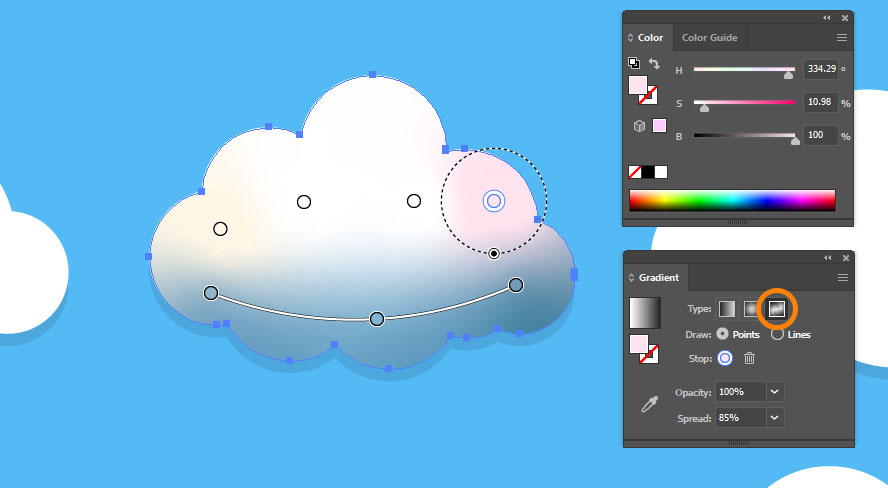
Freeform is the new type of gradient, it’s fairly intuitive. Just click to place stops anywhere and change their color as before. Upon hovering on the stops, you can change the color spread radius.
On the Gradient panel, you can choose to draw lines instead of spots, which work just like the Curvature Tool.
Gradient on Strokes
You can apply gradient to Strokes, although you can’t use the Gradient Tool for that. You can use the Gradient Panel though. Select stroke and choose Type. Below that, choose one of the three types of application: within, along or across.
One Gradient for all
To apply the same gradient to multiple objects:
- Select all objects and click on your gradient swatch. Alternatively, use Color Picker (I) and click on the object with the desired gradient.
- Using Gradient Tool, draw across your objects.